Ice cream is the perfect summertime treat. Actually, it’s a perfect dessert for any time of year! You can put it on top of pies in the fall, cakes or brownies in the winter, and make sorbets in the spring!
With a Ninja blender, whipping up a batch of ice cream at home is a serious cinch. It’s a quick blender dessert, but you do need to prep your ingredients at least eight hours ahead of serving time. So plan ahead!
In this article, we’ll demonstrate (with video!) how to make homemade ice cream in your Ninja blender. This is a very basic vanilla ice cream recipe from Ninja’s website. You can easily customize it to be another flavor of your choice or add in fun fixings!
Vanilla Ice Cream Recipe for Ninja Blender
Assemble your ingredients then read the instructions carefully.
The time required to make the recipe: Less than 10 minutes to prep, freeze 8 hours to overnight, then around 2-3 minutes to finish off and serve.
To make this dessert, you will need:
Ingredients
Directions:
- 1In your mixing bowl, combine two cups of whole milk with the package of vanilla instant pudding.
- 2Lightly mix with your whisk until dissolved (~1 minute).*
- 3Pour the mixture equally into the ice cube trays.
- 4Place the trays where they can stay perfectly flat in your freezer.
- 5Freeze for at least 8 hours or overnight if you can.
- 6Fit the standard blade into your Ninja blender before adding all your frozen pudding cubes.
- 7Then add ½ cup plus 2 Tablespoons of cold whole milk and the 2 teaspoons vanilla extract.
- 8Using the crush option on your machine, blend for 35-40 seconds.
- 9Remove lid and blades.
- 10Serve ice cream immediately.
*Avoid overmixing, otherwise your mixture will be too thick and difficult to pour.

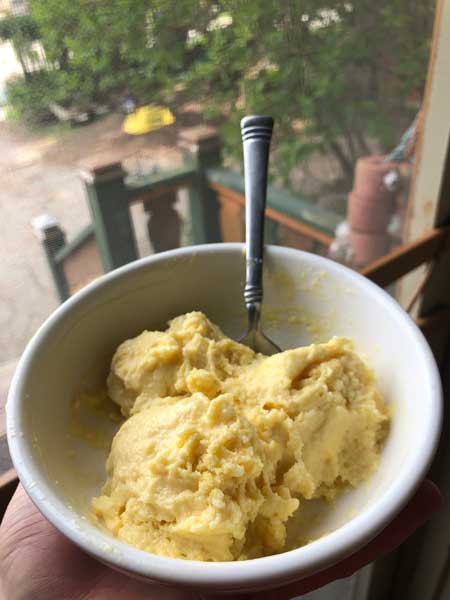
Vanilla ice cream in a bowl, ready to eat!
Suggested toppings or mix-ins for your fresh vanilla ice cream:
- Fresh fruit (strawberries, raspberries, blueberries, pineapple, peaches, etc.)
- Chocolate shavings or sauce
- Caramel syrup
- Crushed nuts
- Your favorite candy
Leave us a comment with your favorite ice cream topping!
What If I Want to Make Chocolate Ice Cream in My Ninja Blender?
We hear you! Vanilla is classic, but chocolate is where it’s at. When you need your chocolate fix, just use the basic recipe and directions above.
BUT, swap out the vanilla instant pudding for chocolate. Simple as that!
Alternatively, if you have chocolate syrup or cocoa powder on hand you could add that to your vanilla recipe to end up with a chocolaty flavor.
Video for How to Make Homemade Ice Cream in Your Ninja Blender
This video begins after Step 5 (freezing your pudding mix into ice cube trays).
If your ice cream isn’t as creamy as you’d like after blending for 30-40 seconds just add a splash more milk!
Note: In the video, there are substitutions to make this recipe dairy-free and more diet-friendly. If you’d like to try your own lower-calorie version, here’s how:
- Choose fat-free, sugar-free instant pudding instead of regular.
- Either buy lower-fat milk or go dairy-free with almond, cashew, soy, hemp, etc.
- Enjoy with some fresh fruit!
If you’re at all concerned over the use of sugar-free instant pudding, take a look at what the Mayo Clinic has to say about artificial sweeteners.

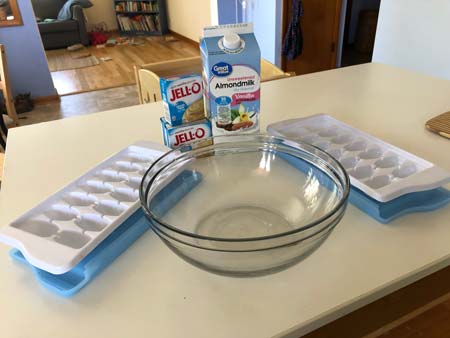
Ingredients and tools needed to make ice cream.
Keep reading for more Ninja blender recipes to satisfy your sweet tooth!
How to Make Vegan “Nice” Cream in the Blender
“Nice” cream is very popular these days and not only with vegans. It is a healthier way to enjoy a frozen dessert. We’ll give you the simplest, 2-ingredient version below. If you’d prefer chocolate ice cream, just add some cocoa powder!
It does require planning ahead though because the main ingredient is frozen ripe bananas! Buy some bananas, let a few get super ripe then peel, cut, and freeze.
You will need:
- 2-4 frozen bananas (halved or chopped)
- ~1 cup Almond milk (or milk of choice!)
- Your awesome Ninja Blender
How to make:
- Make sure the regular blade is in your Ninja blender.
- Add the frozen chopped banana pieces.
- Pour in your almond milk.
- Pulse until creamy, adding more almond milk if necessary.
- Eat your frozen treat — guilt-free!
Tasty Tip: If you’re a fan, try adding some peanut butter (or allergy-friendly substitution) to the mix next time! Or to get really wild, throw in a few Tablespoons of Nutella!
Strawberry Ice Cream Recipe for the Ninja Blender
Take advantage of seasonal fruits or berries when you make ice cream! In this recipe, we’ll use strawberries. But feel free to swap for another berry or even some juicy pineapple or mango!
Ingredients
Directions:
- Add all ingredients to your Ninja blender pitcher (with the blade already inside).
- Pulse for 30 seconds or until well-blended.
- Serve as is or freeze for 30 minutes to thicken up.
- Enjoy!
Would you prefer Ninja peach ice cream? No problem. Swap the frozen strawberries out for frozen peaches!
Done making ice cream and ready to clean up? Read Are Ninja Blenders Dishwasher Safe? To make your cleaning go a little smoother.
Conclusion
So now you know how to use your Ninja blender to make fresh ice cream anytime you fancy some dessert.
It doesn’t even take many ingredients. Also, it’s budget-friendly and something fun you can make with your kids or friends!
Want another awesome blender recipe? Read our review of the Ninja BL660 for an exclusive dessert smoothie recipe.

